How to Build a WooCommerce Store With Divi 5? (Full Guide)
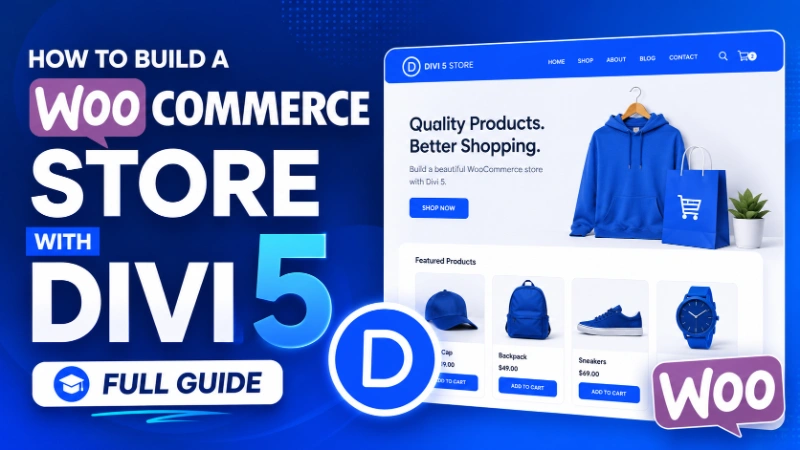
Table of Contents
Building an online store used to mean stitching together a handful of plugins, fighting with custom CSS, and praying the checkout page did not break on mobile. WooCommerce solved part of the problem by giving WordPress a powerful ecommerce engine, but visually it was always a bit limited.
Divi 5 bridges that gap nicely. With native WooCommerce modules, a flexible theme builder, and the new performance improvements, you can now build a fully branded, fast-loading store without relying on heavy third-party plugins.
In this guide, I will walk through the practical steps of setting up a WooCommerce store with Divi 5, from initial configuration to customizing the shop, product, and checkout pages.
Why Use Divi 5 for WooCommerce
Before getting into the steps, it helps to understand why Divi 5 is a strong choice for ecommerce in 2026.
The main advantages are:
- Native WooCommerce modules for every key page type
- A theme builder that lets you design product and shop templates visually
- Lighter front-end output after the Divi 5 rebuild
- Built-in responsive controls for mobile shoppers
- Image presets and aspect ratio controls for consistent product visuals
For small to mid-sized stores, this combination removes a lot of the technical friction that used to make WooCommerce design painful.
Step 1: Install WordPress, Divi 5, and WooCommerce
Start with a clean WordPress installation on a hosting environment that supports PHP 8.1 or higher. For ecommerce, this matters more than ever, since older PHP versions are slower and less secure.
Once WordPress is ready:
- Install and activate the Divi 5 theme
- Install the WooCommerce plugin from the WordPress repository
- Follow the WooCommerce setup wizard to configure your store basics
- Add your first few products to give yourself something to work with visually
Set your store country, currency, payment methods, and shipping zones during the wizard. You can always change these later, but having them in place helps when designing the cart and checkout pages.
Step 2: Add Your Products Properly
Good product data is the foundation of a good store. Before designing anything, take time to set up products correctly.
For each product, add:
- A clear, keyword-rich title
- A short description for product summaries and meta data
- A longer description for the main product area
- High-quality featured images
- A product gallery for additional angles
- Categories and tags for filtering and navigation
- Pricing, SKU, and stock information
This is where consistency matters most. Use the same image aspect ratio across all products, ideally a square or 4:5 portrait format. Divi 5 will handle responsive scaling, but starting with consistent uploads makes the store look far more professional.
If you want help maintaining image consistency, the Divi 5 aspect ratio controls and image presets feature is genuinely useful here.
Step 3: Customize the Shop Page
The shop page is where most visitors land when browsing your store. By default, WooCommerce shows a simple grid, but with Divi 5 you can fully redesign it.
To customize the shop page:
- Open the Divi Theme Builder
- Add a new template and assign it to the WooCommerce shop page
- Use the Shop Module or build a custom layout with the Product Grid
Inside the layout, consider including:
- A clear page heading with the store name or category
- A short intro paragraph that builds trust and explains your products
- The product grid with consistent spacing and image ratios
- Category filters or quick links
- A featured product section or bestsellers row
Keep it focused. A clean shop page converts better than a cluttered one.
Step 4: Build a Branded Product Page
Product pages do the heavy lifting for conversions. This is where customers decide whether to buy, and small design details can make a real difference.
Inside the Divi 5 Theme Builder, create a custom product template that includes:
- The product image gallery
- A strong product title
- Star ratings and review count
- A short description focused on benefits
- The price with any discount clearly shown
- An add to cart button styled to match your brand
- Trust signals like guarantees, shipping info, or return policies
- The full product description below the fold
- Customer reviews and a Q&A section if relevant
Divi 5 includes dedicated WooCommerce modules for each of these elements. You can drag them into your layout, style them visually, and preview live changes.
A few quick tips:
- Make the add to cart button the visually dominant element
- Keep the headline area above the fold on mobile
- Use clear, scannable bullet points for product features
- Add at least one image showing the product in use
These small choices add up to better conversion rates over time.
Step 5: Design a Smooth Cart and Checkout Flow
Cart abandonment is one of the biggest challenges in ecommerce. Most of the time, it comes down to friction during checkout.
With Divi 5, you can redesign both the cart and checkout pages using dedicated modules. Aim for:
- A clean, single-column checkout layout
- Visible trust badges near the payment area
- A clear order summary that stays visible while scrolling
- Minimal required fields
- Multiple payment options visible at a glance
- Guest checkout enabled
Avoid asking for information you do not need. Every extra field is a chance for someone to drop off.
Step 6: Set Up Categories, Filters, and Navigation
A store with more than a handful of products needs proper navigation. Divi 5 makes this easy with menu modules and category-based templates.
Best practices include:
- Group similar products into clear categories
- Show featured categories on the homepage
- Add a search bar in the header
- Include category filters on the shop page
- Use breadcrumbs to help visitors find their way back
Strong navigation reduces bounce rates and helps customers find what they want before losing interest.
Step 7: Optimize for Mobile
The majority of WooCommerce traffic now comes from mobile devices. A store that looks great on desktop but breaks on a phone will leak revenue every day.
With Divi 5, mobile optimization is built in. Use the responsive controls to:
- Adjust font sizes for smaller screens
- Stack product grids into single columns
- Make add to cart buttons full width
- Simplify navigation into a mobile menu
- Hide non-essential elements on small screens
Always test the full checkout flow on an actual phone, not just the desktop preview. Real-device testing catches issues that emulators miss.
Step 8: Speed and Performance
Slow stores lose sales. Divi 5 handles a lot of the heavy lifting through its new rendering engine and asset loading, but there are extra steps for ecommerce specifically.
Focus on:
- Compressing product images to WebP format
- Using a caching plugin compatible with WooCommerce
- Enabling object caching at the server level
- Limiting the number of products shown per shop page to a reasonable number, typically 12 to 24
- Disabling cart fragments on pages where they are not needed
For a deeper dive on speed, see our Divi 5 performance guide.
Step 9: Add Conversion-Boosting Elements
Once the foundation is built, layer in features that improve conversions over time.
Common additions include:
- Email capture popups using Bloom or a third-party plugin
- Cart abandonment recovery via WooCommerce extensions
- Cross-sells and upsells on the cart page
- Product bundles for higher average order value
- Customer reviews and testimonials throughout the store
- A clear shipping and returns page
Start simple and add features as the store grows. Too many popups and add-ons can hurt conversions just as much as too few.
Step 10: Test, Launch, and Iterate
Before going live:
- Place a few test orders end to end
- Check email confirmations for branding and clarity
- Verify payment processing in live mode
- Test on multiple browsers and devices
- Make sure SSL is active across the entire site
After launch, watch analytics closely. Tools like Google Analytics 4 and WooCommerce reports will show where customers drop off and what to improve next.
FAQ About Building a WooCommerce Store With Divi 5
Is Divi 5 good for large WooCommerce stores? Divi 5 works well for small and mid-sized stores. For very large catalogs with thousands of products, focus on hosting, database optimization, and image management as much as the builder itself.
Do I need extra plugins for WooCommerce with Divi 5? The core Divi 5 modules cover most needs. You may still want plugins for shipping, taxes, advanced reporting, and email marketing, but you can keep the plugin count low.
Can I customize the WooCommerce checkout page with Divi 5? Yes. The theme builder lets you design custom checkout layouts using WooCommerce modules. You can also restructure forms, add trust signals, and adjust the order summary visually.
How do I make my Divi WooCommerce store load faster? Use modern image formats, enable caching, choose quality hosting, and limit unnecessary plugins. The new Divi 5 rendering engine already produces lighter HTML than older versions.
Does Divi 5 support digital products and subscriptions? WooCommerce handles digital products natively and subscriptions through the official Subscriptions extension. Divi 5 simply provides the visual layer on top. For promoting a single book or digital product with a focused landing page, see our Divi book landing page tutorial.
Final Thoughts
Building a WooCommerce store with Divi 5 is genuinely easier than it used to be. The native WooCommerce modules, theme builder, and improved performance mean you can launch a polished, professional store without juggling a dozen plugins or writing custom code.
For freelancers, agencies, and business owners, this opens up a faster path to ecommerce projects that look great and actually convert. Start with clean product data, build mobile-first, and iterate based on real customer behavior.
If you want a head start on the design side, browse our premium Divi 5 layouts for ecommerce-ready templates, or contact us if you would like hands-on help with your WooCommerce project.
About the Author

MD Nurullah
MD Nurullah is a web developer and content creator at DiviFlow, focused on building modern websites and creating helpful resources for the WordPress community.